If you’ve ever opened a pack of gel pens and wondered why your page looks flat while someone else’s coloring looks like it’s glowing from the inside, you’re in the right place. Learning solid gel pen coloring techniques is the difference between “just filled in” and genuinely stunning. The good news? You don’t need expensive supplies or years of practice—just a handful of simple habits that work for kids, teens, and adults alike. In this guide, we’ll walk through exactly how to get the most out of every gel pen in your collection, plus a few honest troubleshooting tips for when things don’t go as planned. By the end, you’ll have a full toolkit of gel pen coloring techniques you can reach for on any page.
The short answer: gel pen coloring techniques that work fast
The fastest way to improve your gel pen coloring techniques is to layer light-to-dark, let each layer dry before adding the next, use a light table or blank paper underneath to test colors first, and always finish with a white or metallic gel pen for highlights. Combine that with good paper (thicker is better) and a few smart tool choices, and your pages will look noticeably more polished within one sitting.
This is worth repeating because it’s the foundation for everything else in this guide: the order you apply gel ink matters just as much as the colors you choose. Get the order right, and even a beginner’s page starts to look intentional and finished.
Why gel pens deserve a place in your coloring toolkit
Gel pens are underrated compared to markers and colored pencils, but they bring something totally unique: opacity, shimmer, and that satisfying smooth glide. Unlike watercolor markers, gel ink sits on top of the page rather than soaking in, which means colors stay vivid even on darker paper. This makes gel pens perfect for adding sparkle to skies, water, wings, and jewelry details in coloring pages.
They’re also wonderfully low-mess and low-commitment for kids. There’s no water, no blending solution, and minimal cleanup—just a pen, a page, and a little patience. That said, mastering gel pen coloring techniques does take a bit more finesse than crayons because the ink can smudge if you’re not careful, and some colors are more pigmented than others.
One thing that surprises a lot of parents: gel pens are actually a great bridge tool between crayons and more advanced media like alcohol markers or colored pencils. They’re forgiving enough for younger hands but detailed enough to keep older kids and adults engaged for a full page. If your family is just starting to build a coloring supply collection, gel pens are one of the best first “upgrade” purchases you can make.
There’s also a practical reason gel pens are worth the investment: a good set lasts a long time. Because the ink is so pigmented, you use less of it per page than you might with markers, and pens rarely dry out the way markers can if left uncapped for a few minutes. That makes gel pens a smart choice for busy households where a stray cap sometimes goes missing.
Gather the right supplies first
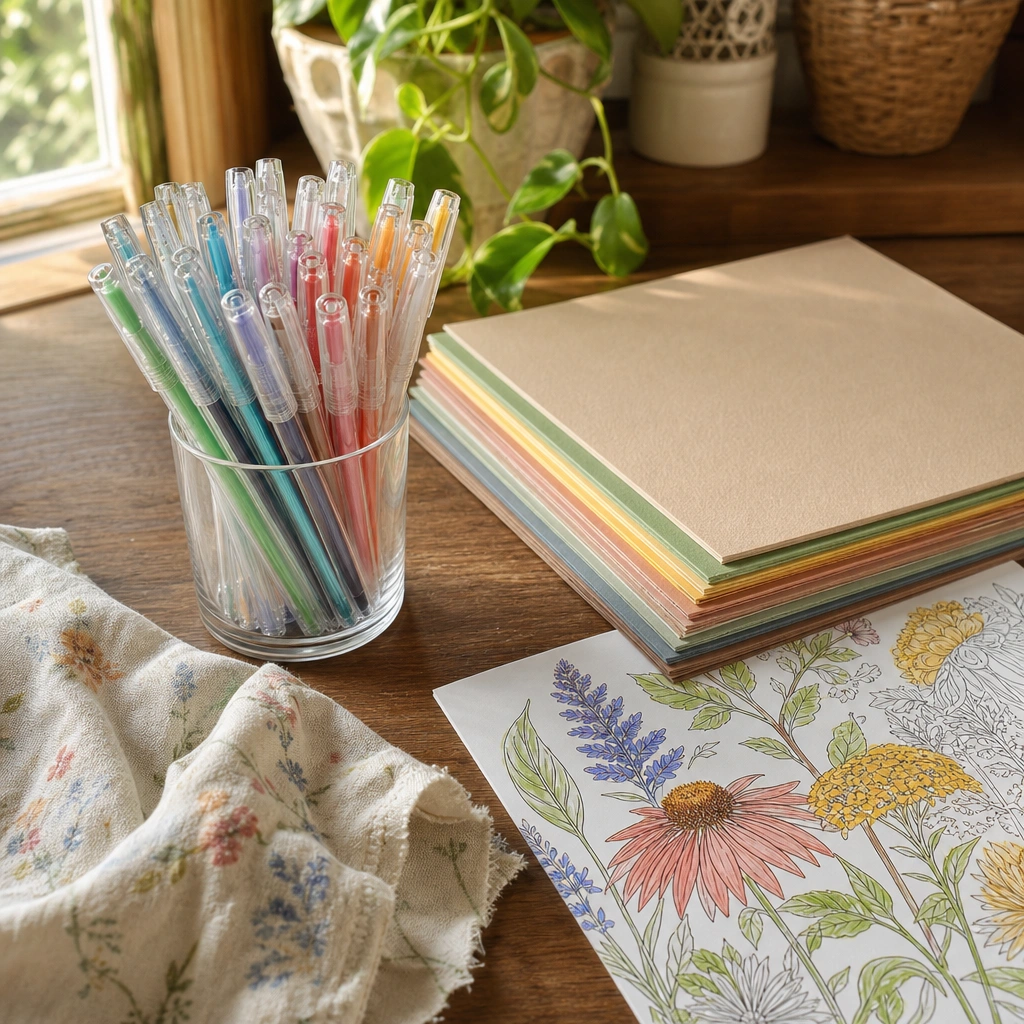
Before diving into techniques, it helps to have the right materials on hand. Here’s a simple supply checklist:
- Gel pens in a range of colors, including at least one white and one metallic
- Thicker paper (cardstock or a coloring book printed on heavier stock) to prevent bleed-through
- Blank scrap paper for testing colors before committing
- A soft cloth or paper towel to rest your hand on and avoid smudging
- A pencil eraser in case you need to lift stray ink (works better than you’d think on fresh ink)
If you’re printing your own pages at home, our guide on how to print coloring pages covers paper weight and printer settings so your gel pen coloring techniques have the best possible surface to work on. A little prep here saves a lot of frustration later, since even the best technique can’t fully rescue thin, flimsy paper.

It’s also worth thinking about storage. Gel pens dry out faster if they’re left uncapped or stored tip-down, so a pen case or cup that keeps them upright and capped between sessions will extend their life considerably. A little organization up front means more time actually coloring and less time hunting for the right shade.
9 gel pen coloring techniques to try today
Once your supplies are ready, it’s time to actually put pen to paper. These nine gel pen coloring techniques go from beginner-friendly to a little more advanced, so pick whichever fits your skill level and mood. You don’t need to master all nine at once—even adding one or two of these to your current routine will make a noticeable difference.
1. Layering light to dark
Start with your lightest color and build up gradually. Gel ink is more opaque than marker ink, so layering in the wrong order (dark first, then light) often looks muddy. Light-to-dark layering is one of the most important gel pen coloring techniques because it lets each layer show through subtly, creating depth instead of a flat block of color.
2. Let each layer dry completely
Gel ink stays slightly wet longer than you’d expect. If you go back in too fast, you’ll smear it. Give each layer 20–30 seconds before adding more, especially with metallics, which tend to stay tacky the longest. If you’re working on a warm or humid day, add a few extra seconds of drying time to be safe.
3. Test on scrap paper first
Gel pen colors can look completely different on paper than they do capped. Always do a quick test swatch on scrap paper before committing to a large area on your actual coloring page—this single habit prevents most “oops” moments. It only takes a few seconds and can save an entire page from an unexpected color mismatch.
4. Use circular motions for even coverage
Instead of coloring in straight lines, try small circular or scribbling motions. This spreads the ink more evenly and reduces streaky lines, especially in larger open spaces like skies or capes. It also helps prevent the pen tip from digging a groove into softer paper.
5. Outline first, then fill
Trace the edges of a shape first with a slightly steady hand, then fill in the middle. This keeps color inside the lines and gives you a crisp, professional edge—one of the simplest gel pen coloring techniques for beginners who struggle with precision. Once the outline is in place, filling the middle feels much less stressful, since there’s no risk of coloring outside the design.
6. Add white gel pen highlights last
White gel pen is the secret weapon of experienced colorers. Adding small dots, lines, or swirls of white over a finished colored area instantly creates dimension, sparkle, and a sense of light source. Save this step for the very end, once everything else is dry, so the white stays crisp instead of blending into wet color underneath.
7. Try color blending with a blending stump
Some gel pens stay workable long enough that you can gently blend two colors together at their edges using a blending stump or cotton swab. This won’t work with all brands, so test it first, but when it works, it creates a lovely soft gradient that’s hard to achieve with colored pencils alone.
8. Use metallics sparingly for maximum impact
Metallic gel pens are stunning but can look overwhelming if overused. Reserve them for accents—jewelry, stars, water droplets, or flower centers—rather than covering entire large areas. A little metallic ink goes a long way toward making the rest of your coloring pop.
9. Rest your hand on scrap paper
This sounds small, but it prevents smudging from your palm dragging across still-wet ink, especially in humid weather. It’s one of those gel pen coloring techniques nobody tells you about until you’ve ruined a page. Left-handed colorers especially benefit from this habit, since their hand often trails right behind fresh ink.

Troubleshooting common gel pen problems
Even with great gel pen coloring techniques in your back pocket, you’ll occasionally run into a pen that won’t cooperate. Here are a few quick fixes for the most common frustrations.
If a pen isn’t flowing, try scribbling gently on scrap paper for a few seconds before shaking it. Gel ink can settle unevenly, and gentle warming from your hand often gets it moving again without the mess of aggressive shaking.
If a color looks streaky no matter what you do, it may simply need an extra layer—some pigments are naturally more sheer and require two or three passes to reach full opacity.
If you notice ink bleeding through to the next page, that’s almost always a paper thickness issue rather than a technique problem. Switching to cardstock or slipping a scrap sheet behind your current page can solve it instantly. And if colors seem to dull each other when layered, try letting each layer dry fully and applying thinner coats rather than thick, saturated ones.
One more common frustration: a gel pen that leaves tiny blobs of ink at the start of a stroke. This usually happens right after shaking a pen, when extra ink pools at the tip. A quick swipe on scrap paper before returning to your real page solves this almost every time, and it’s a habit worth building into your normal routine of gel pen coloring techniques.
Gel pen coloring techniques for different age groups
Not every technique is right for every age. Younger children benefit from simpler, low-pressure approaches, while older kids and adults can handle more layering and detail work. Here’s a quick breakdown:
| Age Group | Best Gel Pen Coloring Techniques |
|---|---|
| Ages 3–5 | Simple fill-in with one or two colors, big open shapes, no layering |
| Ages 6–9 | Outline-then-fill, basic white highlights, circular coloring motion |
| Ages 10–12 | Layering, metallic accents, blending experiments |
| Teens & Adults | Full layering, gradients, blending stumps, detailed highlight work |
If you’re coloring alongside younger kids, our coloring pages by age guide and our age-based coloring page picks can help you choose designs with the right amount of detail for their current skill level. Matching the page complexity to the child’s age makes it much easier for them to actually enjoy practicing these techniques instead of feeling frustrated.
It’s also worth remembering that skill levels can vary a lot within the same age group. Some six-year-olds are ready to try layering, while others are still perfecting basic fill-in—and that’s completely normal. Let your child’s comfort level guide which gel pen coloring techniques you introduce next, rather than sticking strictly to an age chart.
Choosing pages that show off gel pen coloring techniques
Gel pens genuinely shine on pages with rich detail—think intricate mandalas, botanical illustrations, or fantasy scenes with lots of small shapes to layer and highlight. Simple, chunky designs work fine too, but they won’t showcase these techniques as dramatically.
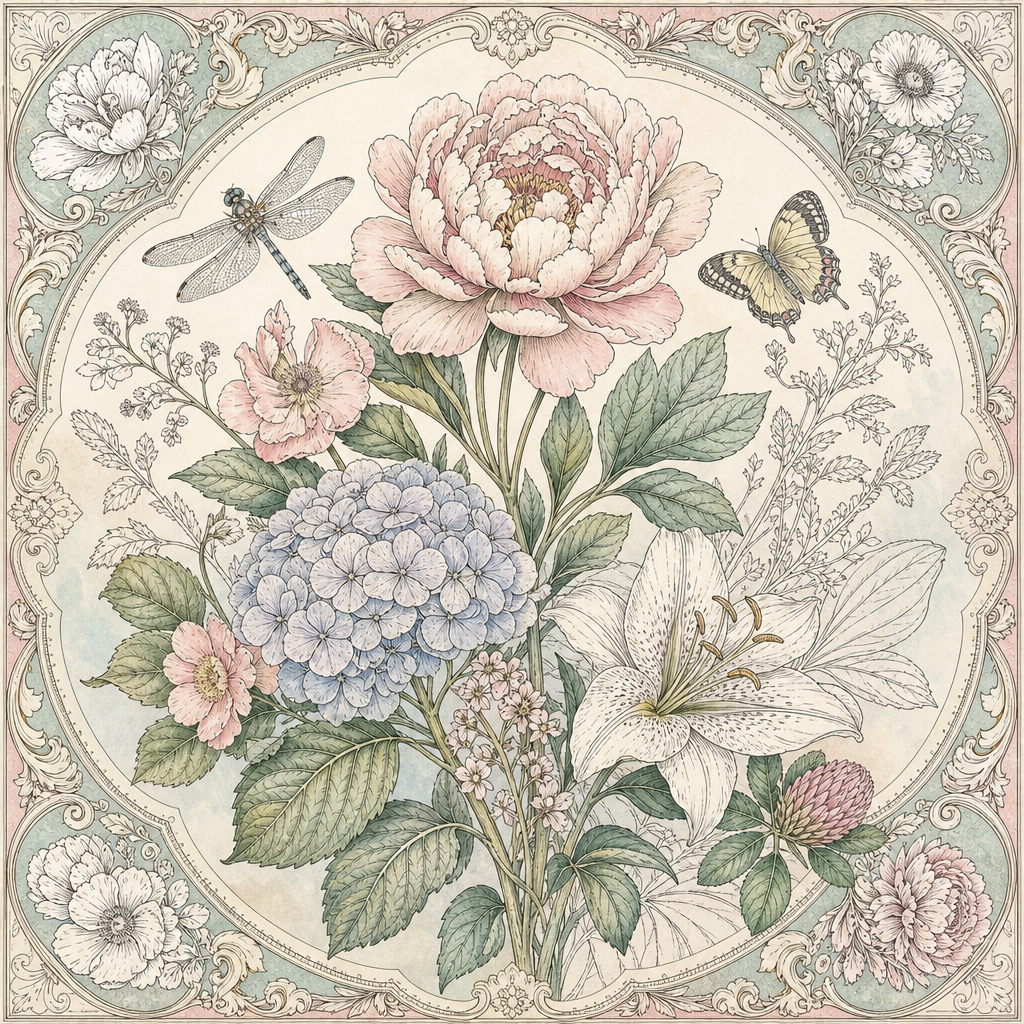
For adults who want a canvas built for layering and highlights, our Mandala Magic Adult Coloring Book ($1.99, instant PDF download) is full of repeating patterns perfect for practicing gradients. The Vintage Botanical Plates Adult Coloring Book ($1.99, instant PDF download) is another lovely option, with delicate line work that really benefits from metallic gel pen accents on leaves and petals.
For kids who want to try their new gel pen skills on something fun, the Magical Unicorns Coloring Book ($1.99, instant PDF download) has plenty of manes, wings, and jewels just begging for white gel pen sparkle.
Common gel pen mistakes to avoid
Even with the best gel pen coloring techniques in mind, a few common mistakes trip people up. Watch out for these:
- Pressing too hard, which can create ridges or tear thinner paper
- Skipping the dry time, leading to smears across the whole page
- Using thin printer paper, which lets ink bleed through to the next page
- Shaking a dry pen too aggressively, which can cause ink blobs when it finally starts flowing
- Overusing metallics, which can flatten the contrast you worked hard to build
Avoiding these pitfalls will instantly make your gel pen coloring techniques look more intentional and controlled.
Simple, proven ways to build confidence with gel pen coloring techniques
If gel pens still feel a little intimidating, start small. Pick one section of a page—a single flower, a small patch of sky, one gemstone—and practice just that one shape using two or three of the techniques above. Once it feels comfortable, expand to a larger area. This section-by-section approach builds real confidence much faster than trying to perfect an entire complex page all at once.
It also helps to keep a “practice sheet” nearby: a spare page or the back of an old printout where you can test new color combinations, layering orders, and highlight placements before committing to your good copy. Many experienced colorers keep one practice sheet going for weeks, adding a little more to it every time they sit down with their pens.
Another confidence-builder: give yourself permission to redo a page. If a first attempt at layering doesn’t go the way you hoped, print a second copy and try again with what you learned. Gel pen coloring techniques really do improve with repetition, and most colorers notice a real jump in quality between their first and second try on the same design.
Making gel pens part of a bigger creative routine
Coloring with gel pens is a wonderful sensory and fine-motor activity, and research on children’s creative play, including guidance from HealthyChildren.org, notes that open-ended creative activities support problem-solving and self-expression at every age. Gel pen coloring fits neatly into that kind of unstructured, low-pressure creative time.
If you’re looking for more ways to fill an afternoon, pair gel pen practice with our free coloring pages, which are perfect for testing new techniques without pulling out a full book. Planning a long car ride? Our road trip activities for kids post has portable ideas that work well with gel pens too, as long as the ride isn’t too bumpy.
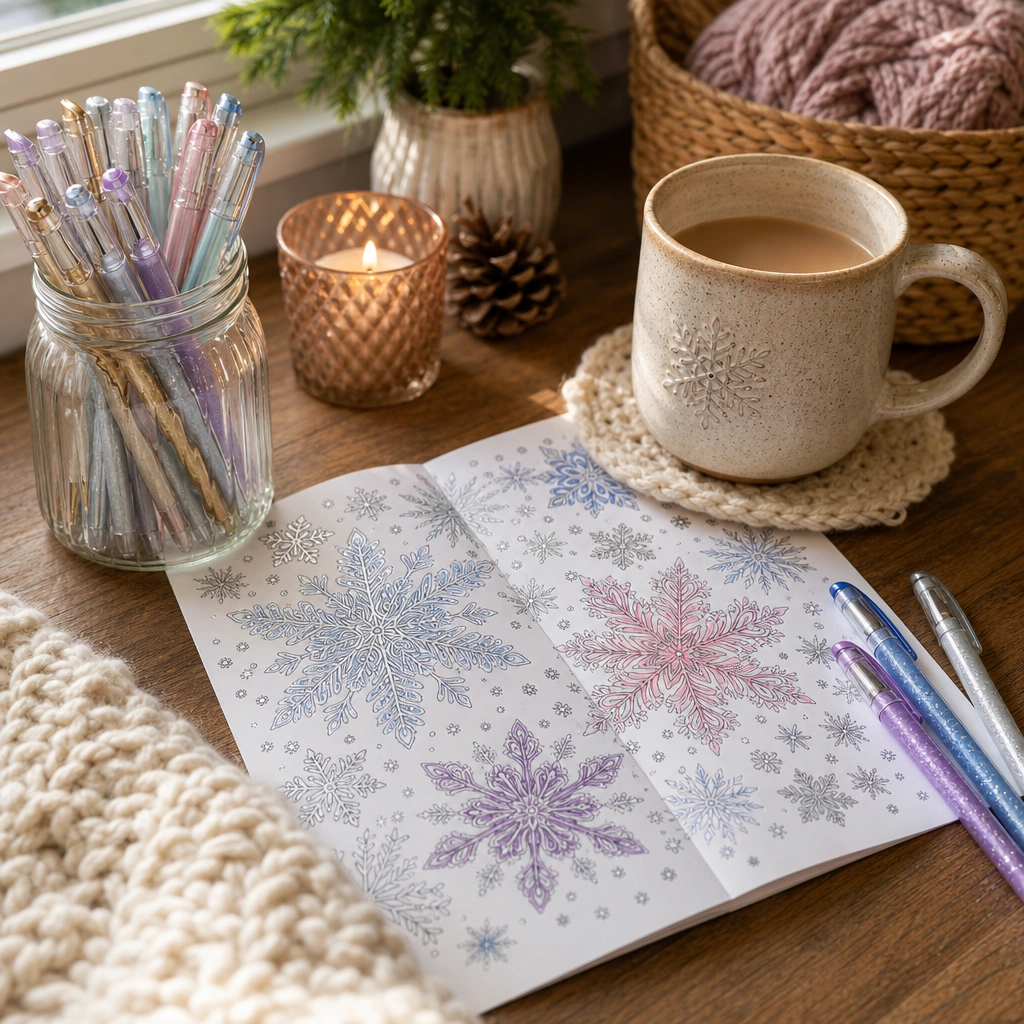
For a cozy seasonal project, the designs in our winter coloring pages collection are especially fun for metallic gel pen snowflakes and icy highlights. And if you love soft, nostalgic themes, our cottagecore coloring pages and second cottagecore collection both have the kind of gentle detail that layered gel pen work looks gorgeous on.
Gel pens vs. other tools
Wondering how gel pens stack up against markers? We compared the two in depth in alcohol markers vs. water-based markers, but the short version is: gel pens offer more control and shimmer, while markers cover large areas faster. Many colorers use both—markers for base color, gel pens for detail and highlights.
If you’re coloring on reusable pages to practice before committing to a “real” copy, check out our reusable coloring pages guide. It’s a low-pressure way to test new gel pen coloring techniques again and again without using up paper.
Beyond coloring pages: gel pens for drawing and stickers too
Gel pens aren’t just for filling in premade lines—they’re also great for adding finishing touches to drawings. If your kids enjoy step-by-step art, our How to Draw Dragons for Kids ($1.99, instant PDF download) and How to Draw Cute Sea Animals ($1.99, instant PDF download) tutorials both pair beautifully with a white or metallic gel pen for eyes, scales, and bubbles. And once the coloring’s done, a few stickers from our Cute Cat Sticker Pack ($1.99, instant PDF download) make a page feel extra complete.
A quick recap of the complete set of gel pen coloring techniques
To sum it all up, here are the essentials to remember every time you sit down with a set of gel pens:
- Layer light to dark, never the reverse
- Let each layer dry before adding more
- Test colors on scrap paper first
- Use circular motions for even coverage
- Outline shapes before filling them in
- Save white highlights for last
- Use metallics as accents, not base colors
- Choose thicker paper to avoid bleed-through
- Rest your hand on scrap paper to prevent smudging
Keep this list nearby the next time you color, and these gel pen coloring techniques will become second nature within a page or two. The more you practice, the more your pages will start to genuinely glow.
Ready to put these skills to work? Browse our full shop for printable coloring books, drawing tutorials, and sticker packs designed with plenty of detail for gel pen practice—every single one is an instant PDF download you can print at home in minutes.
Ready to print some fun?
Browse our printable coloring books, drawing tutorials & sticker packs — instant PDF downloads from $1.99, plus totally free tutorials to try first.

Every Squiggle Press book — 40 printable PDFs for $9.99
Kids coloring books, adult coloring books, drawing tutorials & sticker packs. $160 value. Print unlimited copies forever.
Get the bundle →