Some links below are affiliate links. If you buy through them we may earn a small commission at no cost to you.
Some of the best holiday memories come from a kitchen table covered in paper and crayons. If your child wants to draw Santa, a snowman or a Christmas tree but doesn’t know where to start, breaking the picture into small steps makes all the difference. These easy Christmas drawings use shapes kids already know, circles, triangles and simple curves, so nobody has to feel stuck looking at a blank page.
Easy Christmas drawings for kids usually start with one or two basic shapes, a circle, a triangle or an oval, then add simple details like dots, lines and curves. Subjects like a snowman, a Christmas tree or a candy cane are the easiest because they are built from shapes kids already know how to draw. Breaking each one into four to six short steps makes it manageable for any age.
The short answer on easy Christmas drawings
Easy Christmas drawings for kids almost always start with one or two basic shapes. A snowman is three circles. A Christmas tree is a triangle on a trunk. A candy cane is one curved line. Once the basic shape is down, a few simple details, like dots for eyes or lines for stripes, finish the picture. This guide has 12 ideas, each with four to six short steps, grouped from the very simplest up to a bit more detail. If your family likes drawing, our free Christmas coloring pages are a nice next stop once the pencil work is done.
What you need
You do not need fancy supplies for any of these drawings. A few basics cover everything in this guide:
- Plain paper or printer paper
- A regular pencil and an eraser
- Crayons, colored pencils or markers for filling in color
- A black fine-tip marker, optional, for tracing over pencil lines once the drawing is done
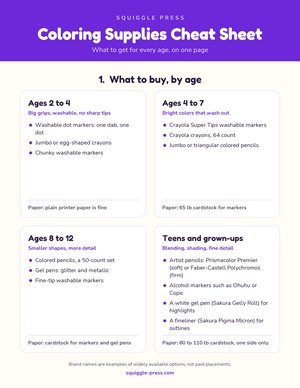
If your child draws a lot, it might be worth looking at our guide to colored pencils for kids or our picks for markers for coloring books, from budget sets to ones made to last through a lot of use.

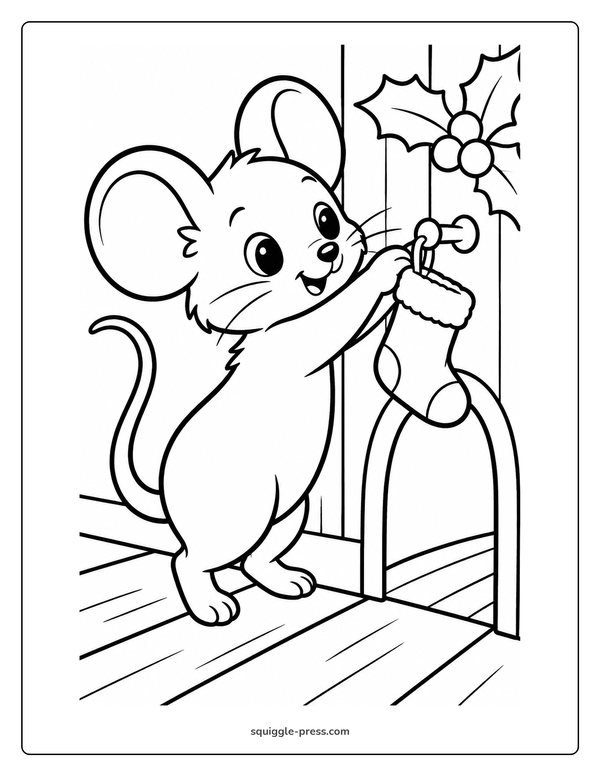 Mouse Hanging a Tiny Stocking
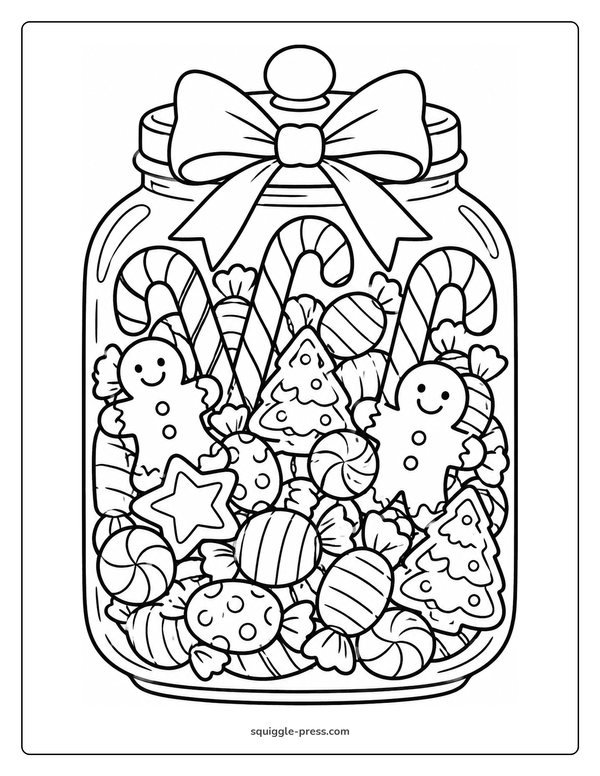 Christmas Sweets Jar
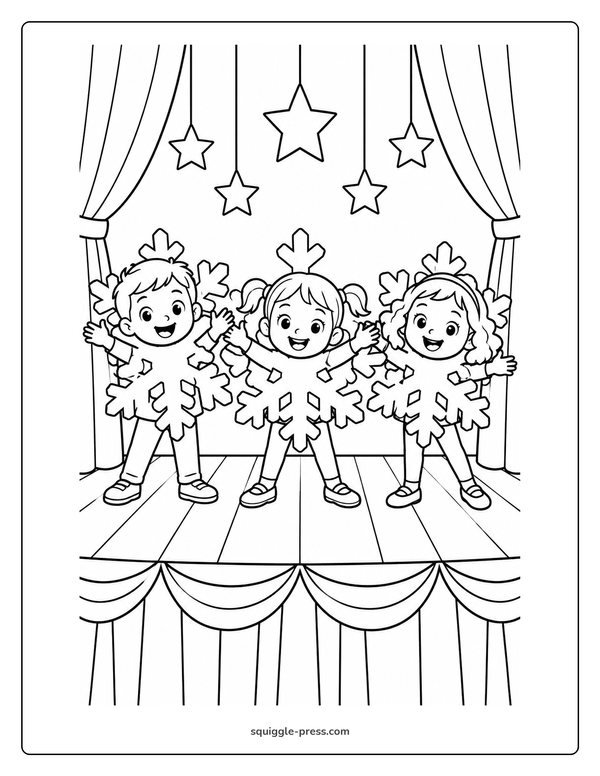 Kids in a Snowflake School Play
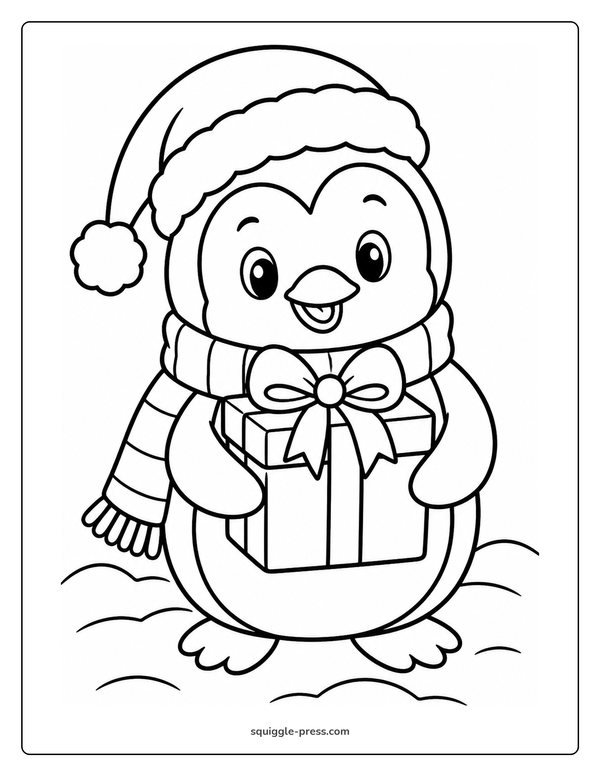 Penguin in a Santa Hat
Easiest Christmas drawings for little kids
These five ideas use the simplest shapes and work well for preschool and early elementary ages. Each one can be finished in just a few minutes.
Santa Claus
- Draw a large circle for the head.
- Add a wide, bumpy shape at the bottom of the circle for the beard.
- Draw a triangle hat on top, with a small circle pom-pom at the tip.
- Add two dot eyes, a round nose and a smiling mouth line.
- Color the hat and nose red, the beard white.
Tip: keep the beard big and puffy. It hides any wobbly lines and still looks like Santa. For a closer look at proportions, our free How to Draw Santa tutorial walks through it with pictures at each step.
A snowman with a scarf
- Draw three circles stacked on top of each other, smallest at the top.
- Add two dot eyes and three small dots for buttons down the middle.
- Draw a triangle nose and a curved line for a smile.
- Add a scarf across the neck with two lines hanging down.
- Draw two stick arms, one with a small line for a twig.
Tip: draw the circles lightly in pencil first so they stay even sized before adding any detail. See our full How to Draw a Snowman sheet for a version with more detail if your child wants to try it.
A Christmas tree
- Draw a tall triangle shape.
- Add a small rectangle trunk at the bottom.
- Draw a smaller triangle inside near the top for a layered look, if you like.
- Add small circles around the tree for ornaments.
- Draw a star or a simple circle on top.
Tip: three stacked triangles, biggest at the bottom, look more like a real pine tree than one single triangle. Our How to Draw a Christmas Tree tutorial shows this layered version step by step.
A candy cane
- Draw a long straight line down the page.
- Curve the top into a hook shape, like a letter J.
- Add a second line next to the first, following the same curve, to give it width.
- Draw diagonal stripes across the shape.
- Color every other stripe red, leaving the rest white.
Tip: draw the stripes last, after the outline is complete, so they stay evenly spaced.
A simple star
- Draw a small upside down V shape.
- Draw a wider V shape underneath it, overlapping slightly.
- Connect the open ends with two short lines to close the star shape.
- Go over the final outline to clean it up.
- Color it yellow or gold.
Tip: if a five point star feels tricky, a simple four point star, drawn as two long crossed diamonds, looks just as festive.

A bit more detail: step by step christmas drawings
These next ideas take a little more patience but still break down into clear, short steps. They work well for kids who have a bit more drawing experience or who want to slow down and add detail.
A mitten
- Draw a rounded shape like a loose glove, wider at the bottom.
- Add a separate small rounded shape on the side for the thumb.
- Draw a short cuff line across the bottom.
- Add a simple pattern, like dots, stripes or a small snowflake, on the front.
- Color it a solid color with the cuff in a contrasting shade.
Tip: draw the thumb a little smaller than feels natural. It tends to look more balanced that way.
A reindeer
- Draw an oval for the head, slightly longer than it is wide.
- Add two antler shapes on top, like small branching lines.
- Draw two oval ears on the sides.
- Add two dot eyes and a round red nose.
- Draw a small curved line under the head for the start of the neck.
Tip: antlers do not need to be symmetrical to look right, real ones rarely are. Our How to Draw a Reindeer tutorial shows a full body version if your child wants to take it further.
A gingerbread man
- Draw a rounded rectangle for the body.
- Add a circle head on top.
- Draw two short arms out to the sides and two short legs at the bottom.
- Add round hands and feet at the end of each limb.
- Draw dot eyes, a smiling mouth and a row of small dots down the middle for buttons.
Tip: add a wavy line along the edges of the arms and legs to look like icing. Our How to Draw a Gingerbread Man sheet shows this icing detail clearly.
A stocking
- Draw a long curved shape, like a tall letter J with a wide top.
- Add a folded cuff band across the top.
- Draw a small loop at the top corner for hanging.
- Add a simple pattern, like stripes or a small tree, on the body of the stocking.
- Color the cuff white and the body a solid color.
Tip: draw the toe of the stocking pointing up slightly, it reads more clearly than a straight bottom edge.
A wrapped present
- Draw a square or rectangle box.
- Draw a straight line down the middle and across the middle for the ribbon.
- Add a bow shape where the two ribbon lines cross on top.
- Draw a short shadow line along the bottom edge of the box.
- Color the box one color and the ribbon a different, contrasting color.
Tip: drawing the box slightly tilted, rather than perfectly straight, makes it feel more three dimensional.
A round ornament
- Draw a circle.
- Add a small rectangle at the top for the cap.
- Draw a tiny loop above the cap for the hook.
- Add a simple pattern inside the circle, like stripes, swirls or dots.
- Color the ornament, leaving a small white highlight shape to look like shine.
Tip: that little white highlight circle is what makes a flat shape look shiny and round.
A wreath
- Draw a large circle, then a smaller circle inside it to make a ring shape.
- Add small curved leaf shapes all around the ring.
- Draw a bow at the bottom of the wreath.
- Add a few small circles between the leaves for berries.
- Color the ring green, the bow red, and the berries a darker red.
Tip: draw the leaves pointing in slightly different directions, it looks more natural than lining them all up the same way.

Turning these drawings into cards, ornaments or gift tags
Once a drawing is finished, it does not have to stay in the sketchbook. A few simple options turn these drawings into something to give or display:
- Cards: fold a piece of cardstock in half and draw directly on the front, or draw on separate paper and glue it on.
- Ornaments: cut the finished drawing into a circle or square, punch a small hole at the top, and thread a loop of ribbon or string through it.
- Gift tags: draw a small version, like a mitten or a star, on a trimmed down piece of cardstock, punch a hole, and tie it onto a wrapped present with string.
These make nice handmade touches for grandparents, teachers or siblings, and they give a drawing a second life beyond a single afternoon at the table.

More cute Christmas drawings to color
If your child likes the idea of drawing but would rather color in a finished picture first, our free Christmas coloring pages hub has 320 free printable pages for kids, including a Christmas Tree page and a Christmas Elf page that pair nicely with the ideas above. For grown-ups who want something a bit quieter, there is also a smaller Christmas coloring pages for adults hub, with a Christmas Mandala and a Cozy Christmas Living Room page. Every PDF in the library is free with an email address. You can browse the full collection, over 2,000 printable pages across every theme, at our free coloring pages index.
If your family wants more step-by-step drawing practice beyond the holidays, our free step-by-step drawing tutorials index covers dozens of other subjects. For a bit of history on where some of these holiday characters and symbols come from, the History.com Christmas topic page is a fun, neutral read for curious kids and parents alike. And if a child in your life likes art as a gift idea, our printed Big Book of Coloring, our own coil-bound book with 78 pictures for ages 4 to 8 printed on one side only, pairs well with a fresh set of pencils under the tree.
For paper and supplies that keep markers from bleeding through, our guide on paper that stops markers bleeding through is worth a look, and our colored pencils for adults guide is handy if the grown-ups in the house want to join in too. For more general guidance on choosing safe art supplies for young kids, a children’s hospital or pediatric health site like healthychildren.org is a good place to look.
Drawing together during the holidays does not need to be complicated. A few shapes, a little patience and some color can turn into a stocking full of homemade cards, tags and ornaments, and a page full of good memories along the way. We hope these easy Christmas drawings give your family a fun place to start this season.


Frequently asked questions
What are the easiest Christmas drawings for kids?
A snowman, a candy cane, a star and a Christmas tree are the easiest because they are made from basic shapes like circles, triangles and curved lines. A stocking and a mitten are also simple since they are really just one rounded outline.
How do you draw Santa easy, step by step?
Start with a round head shape, add a wide white beard shape at the bottom, a small triangle hat on top with a pom-pom, then two dot eyes and a round nose. Keep the shapes big and simple rather than trying for a realistic face.
How do you draw a Christmas tree?
Draw a tall triangle or stack two or three smaller triangles, add a short rectangle trunk at the bottom, then decorate with dots for ornaments, small circles or a star on top.
What supplies do kids need for Christmas drawings?
A pencil, an eraser, plain or printer paper, and something to add color with, like crayons, colored pencils or markers, is all that is really needed. A black fine-tip marker for outlining is a nice extra but not required.
Can these drawings be turned into cards or ornaments?
Yes. Most of these drawings work well on folded cardstock as a homemade card, cut out and glued onto a loop of ribbon as an ornament, or trimmed down and tied to a present as a gift tag.
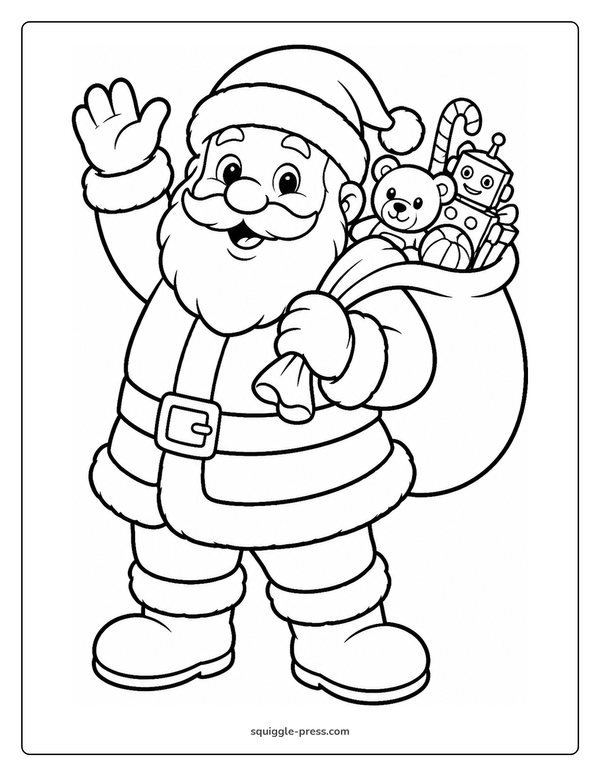
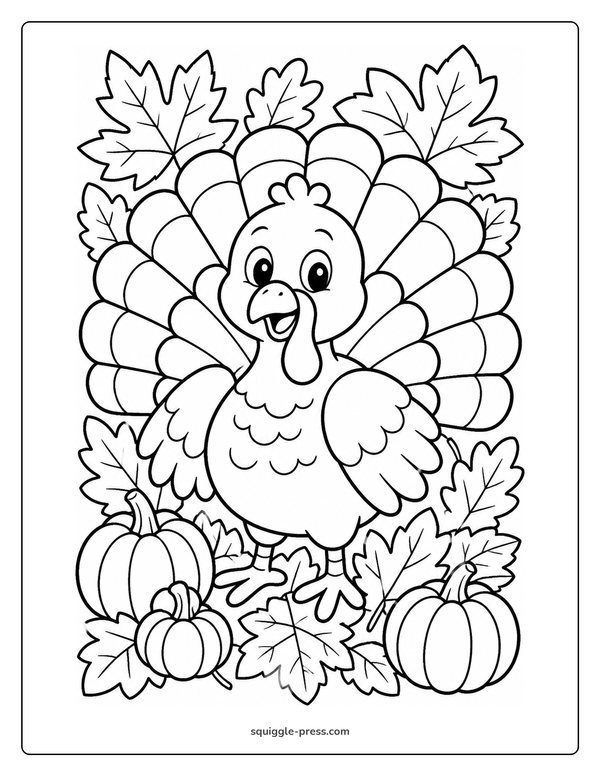
Every Squiggle Press book: 40 printable PDFs for $9.99
Kids coloring books, adult coloring books, drawing tutorials & sticker packs. Over $150 if bought separately. Print unlimited copies forever.
Get the bundle →All 1,010 Christmas pages in one PDF, $2.99
Santa, snowmen, reindeer, gingerbread, elves, gnomes, the nativity, an advent set, candy canes, nutcrackers, Mrs. Claus and 100 detailed pages for grown-ups: 29 sets in one file, with a clickable contents page. Print as many copies as you like for your home or classroom.
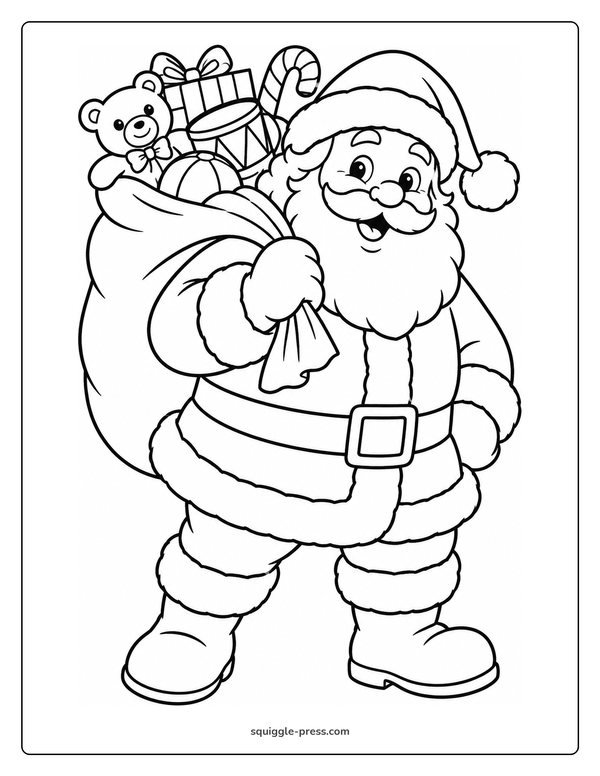
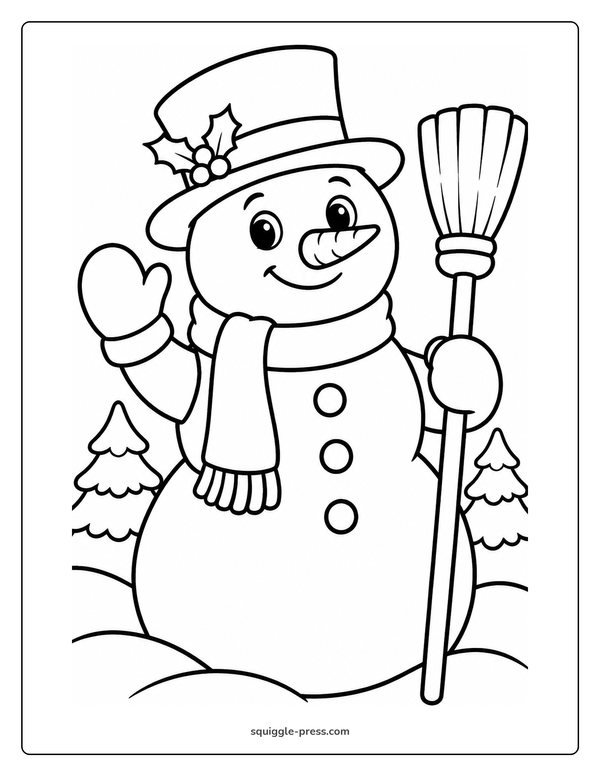
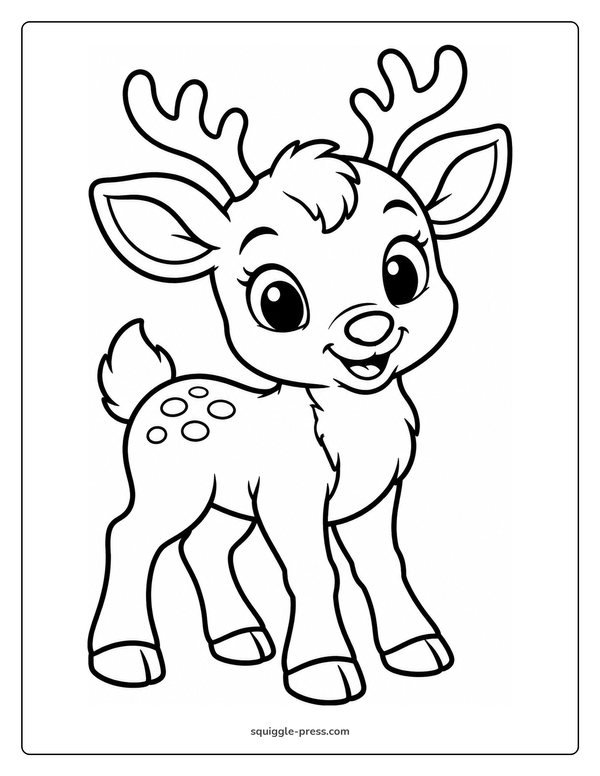
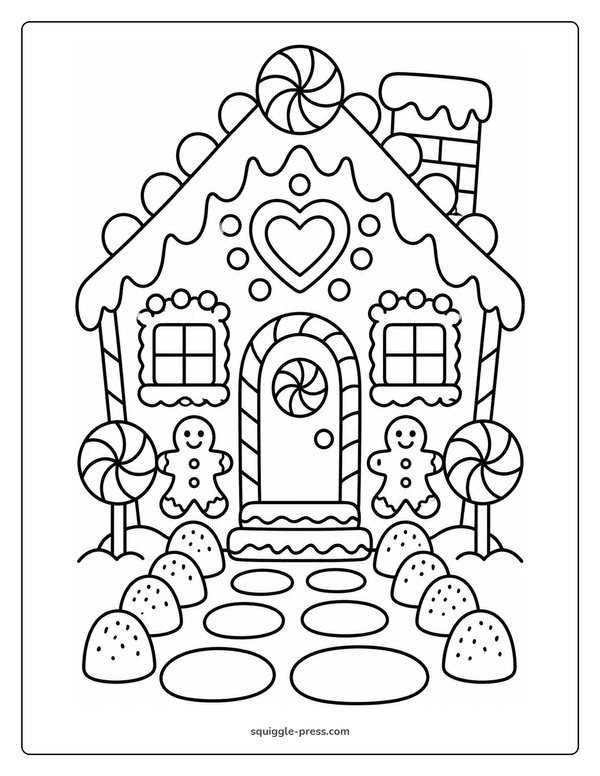
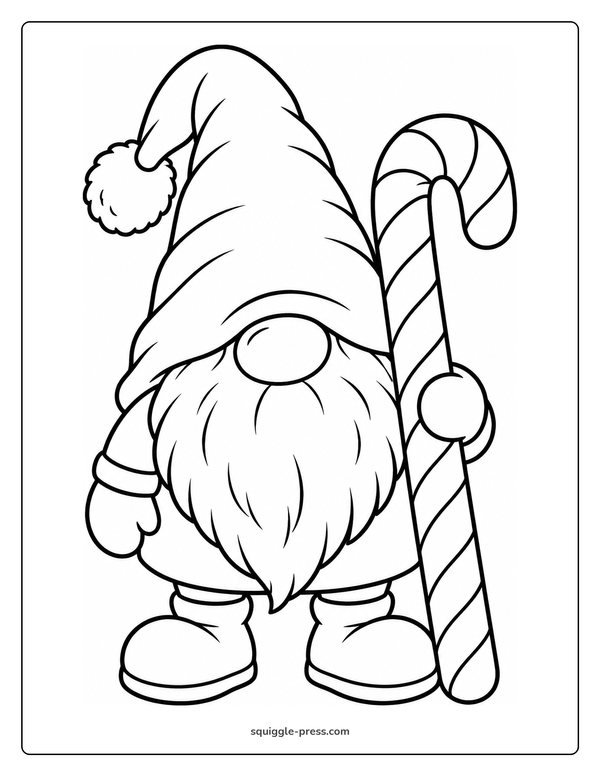
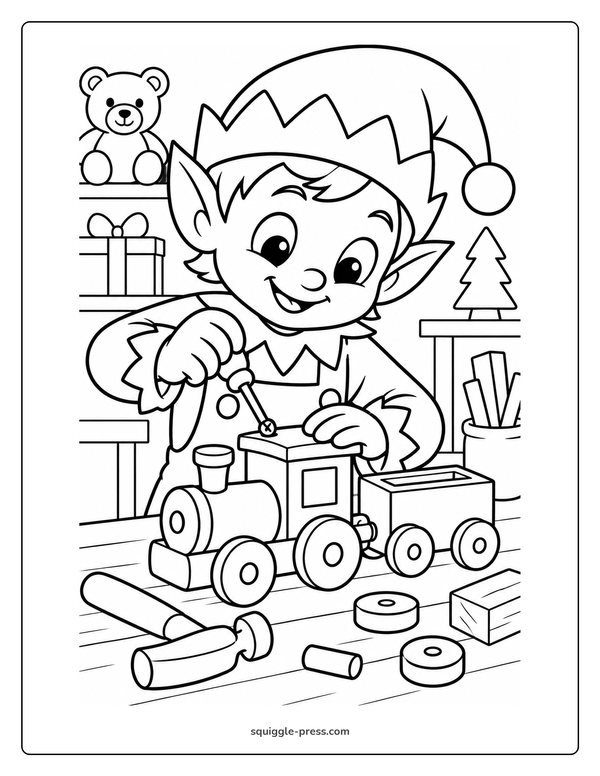
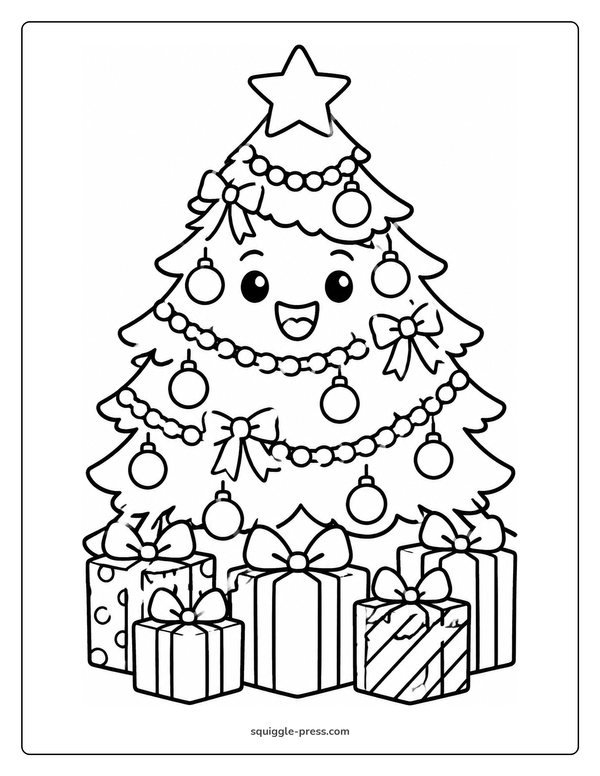
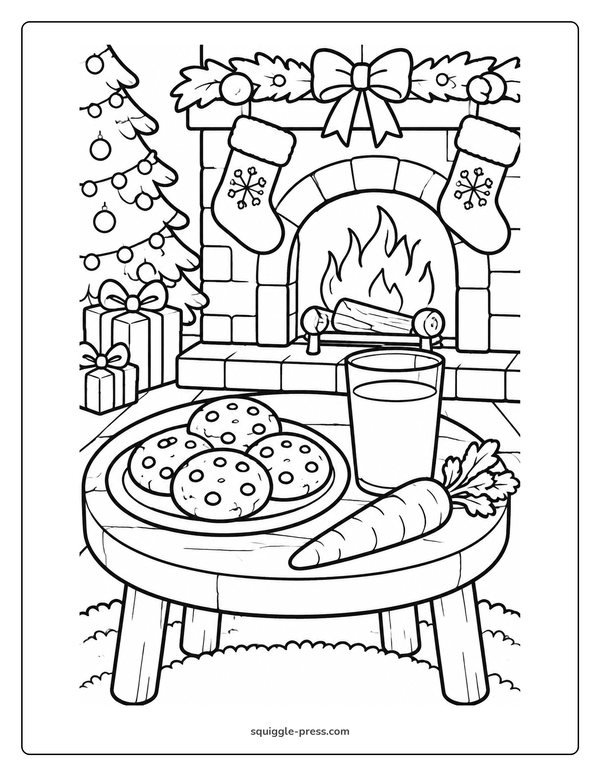
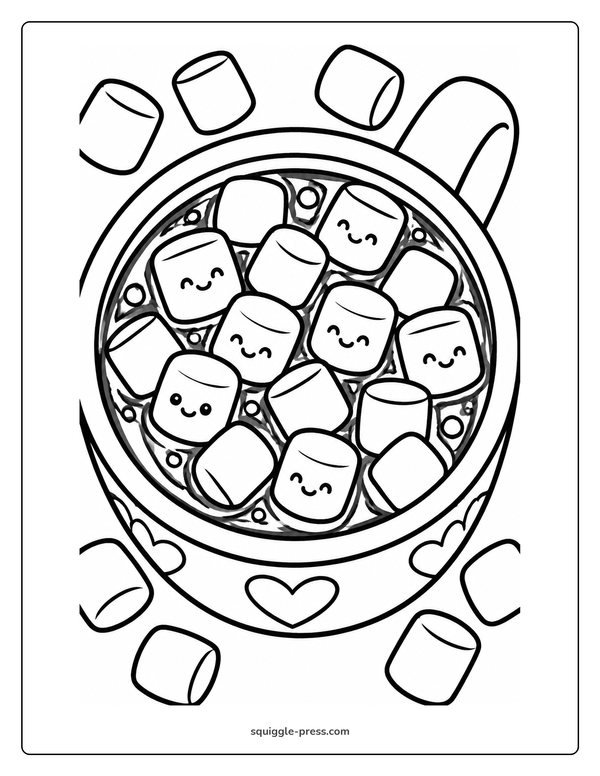
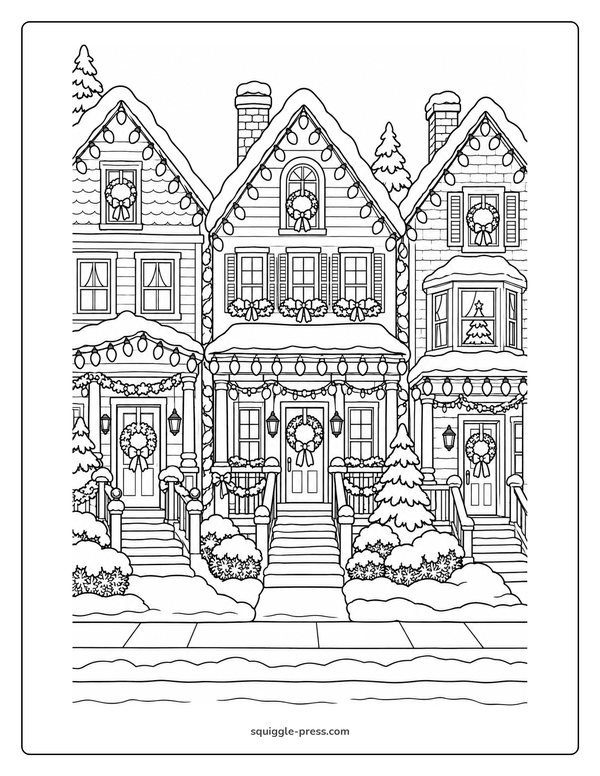
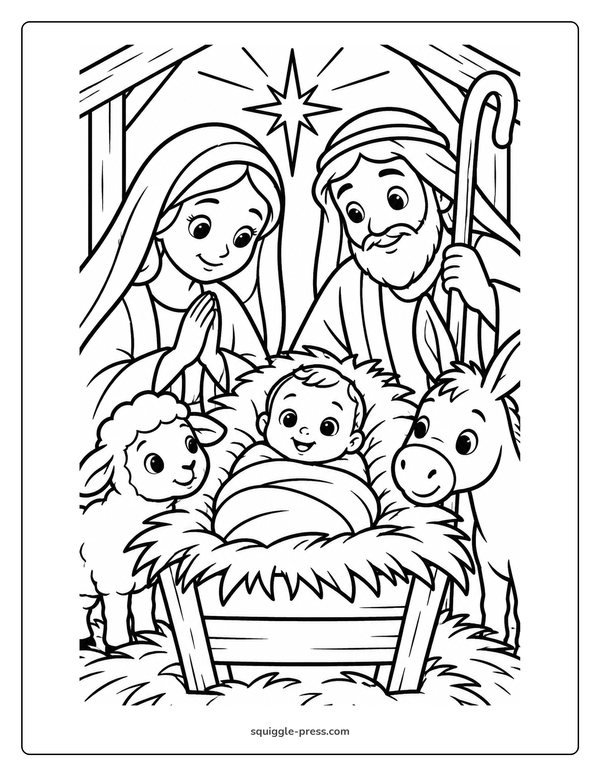
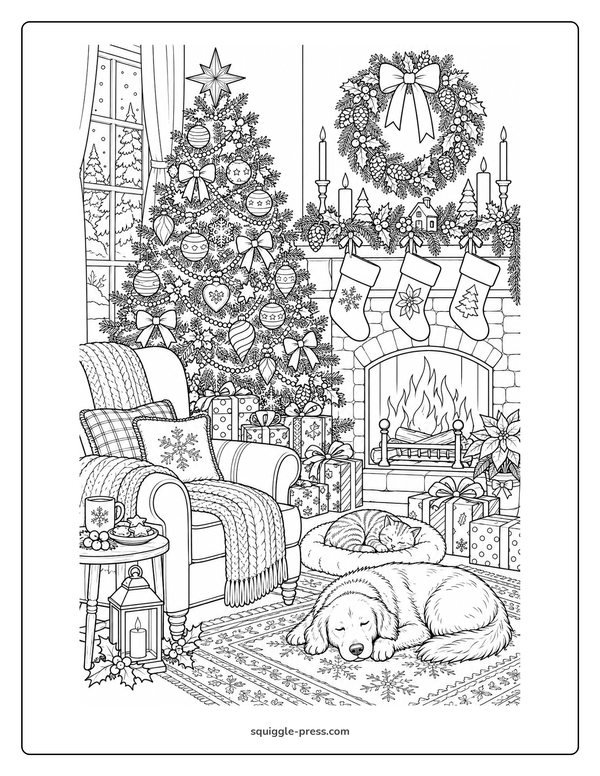
A peek inside: 12 of the 1,010 pages.
Instant download right after you pay, and we email you the link too. Card, Apple Pay, Google Pay or Cash App. The single pages on this site stay free.