Some links below are affiliate links. If you buy through them we may earn a small commission at no cost to you.
So your family has a shiny iPad and a stack of favorite printable pages, and you’re wondering if the two can actually work together. Good news: coloring pages on iPad is a genuinely lovely way to color, whether you’re killing time in a waiting room or settling in for a rainy afternoon at the kitchen table. You don’t need fancy software or a design degree. You just need a PDF, an app that can open it, and a few minutes to learn where the buttons are.
To color our free printable coloring pages on iPad, save the PDF from our library to your Files app, then open it in Procreate (set the line art to Multiply and color underneath), GoodNotes, or Notability using the pen or highlighter tool. For younger kids, a simple drawing or markup app works great too. An entry-level iPad with an Apple Pencil, a paper-feel screen protector, and a stand make the whole experience feel much more natural.
In this guide we’ll walk through exactly how to get our free printable pages onto your iPad and colored in, step by step, plus the handful of accessories that make the experience feel more like real paper and less like fighting a touchscreen. We’ll also cover troubleshooting, app comparisons, and a few extra tips we’ve picked up from families who color on iPad every week.
The short answer: coloring pages on iPad in one paragraph
The fastest way to start coloring pages on iPad is to download a PDF from our free printable coloring pages library, save it to the Files app, then open it in Procreate, GoodNotes, or Notability and color using layers or a pen tool. Each app handles things a little differently, but the basic idea is the same everywhere: import the PDF, pick your coloring tool, and go. We’ll cover all three options below, plus a simpler route for younger kids who just want to tap and color without any setup.

Step 1: Pick a page from our free library
Start at our library of free printable coloring pages, which is sorted by theme so you can find something that matches whatever your kid is into this week. A few favorites to try first:
- Free mandala coloring pages – great for symmetry-loving kids and for grown-ups who want something meditative
- Free owl coloring pages – a sweet, simple subject that works well for all ages
Once you’ve found a page you like, tap to open it, then download or save the PDF. On most iPads this means tapping the share icon and choosing “Save to Files,” or long-pressing the download link and selecting “Save to Files” from the menu that pops up. Pick a folder you’ll remember, like “Coloring” inside your iCloud Drive, so it’s easy to find in the next step.
If you’re not sure which page to pick first, start with something simple. Thin, well-spaced line art is easier to color cleanly on a touchscreen than a page packed with tiny details, especially while you’re still learning where all the buttons are in a new app.
Step 2: Coloring in Procreate
Procreate is a popular drawing app many families already have on their iPad, and it’s genuinely great for coloring pages on iPad because of how it handles layers. Here’s the general process (menu names shift slightly between versions, so look for the spirit of each step rather than an exact label):
- Open Procreate and import the PDF you saved to Files – there’s usually an import option right on the gallery screen.
- Once it opens as a canvas, find the layer with your line art and change its blend mode to Multiply (some apps call a similar setting “Reference”). This makes the white background see-through so your colors show up underneath the lines instead of covering them.
- Add a new, blank layer and drag it below the line-art layer. This is where all your actual coloring will happen.
- Select that new layer, pick a brush and color, and start coloring. Because the line art sits on top in Multiply mode, your color stays “inside the lines” automatically, even if your strokes wander a bit.
- When you’re done, export your finished piece as an image file so you can save it to Photos or share it.
This layer trick is the single most useful thing to know about coloring pages on iPad in Procreate – it’s the digital version of coloring without worrying about going over the edge.
One small troubleshooting note: if your PDF imports as a single flattened layer instead of separate line art and background layers, you can still get a similar effect. Just set that one layer’s blend mode to Multiply, then add your coloring layer underneath as described above. It works the same way, you just skip the step of separating layers that don’t exist.

Step 3: Coloring in GoodNotes or Notability
If your family already uses GoodNotes or Notability for school or planning, you don’t need another app. Both let you import a PDF directly and color right on top of it using the pen or highlighter tool. Here’s the gist:
- Import the PDF from Files into a notebook or new document.
- Select the pen (or highlighter, which is often more opaque and covers lines better) and choose a color.
- Color directly on the page, adjusting the tool’s thickness as needed for small details versus big open areas.
- Use the eraser tool to undo any stray marks, and export or share the finished page when you’re happy with it.
These apps don’t have the layer tricks that Procreate does, so coloring pages on iPad this way feels a bit more like using real markers – you color on top of the lines rather than hiding neatly underneath them. That’s not a downside, just a different feel, and honestly it’s closer to how coloring works on paper.
A quick tip for either app: zoom in before coloring small details like eyes or tiny patterns. Both GoodNotes and Notability let you pinch to zoom, which makes it much easier to stay precise without needing a steadier hand than you actually have.
Step 4: A simpler option for kids
If a child is doing the coloring and all those layers and blend modes sound like a lot, skip straight to a basic drawing or markup app. Many iPads come with a simple markup tool built in (the same one used to annotate photos or screenshots), and it’s more than enough for a young colorer. Open the saved PDF in Photos or Files, tap the markup icon, choose a color, and let your kid draw away. There’s no setup, no blend modes, and nothing to mess up – which is exactly what you want when the “user” is six.
For kids who are just starting out, it also helps to turn on any “palm rejection” or accessibility settings your iPad offers, so a resting hand doesn’t accidentally leave stray marks across the page. Most kids pick this up fast once they realize the iPad won’t register their palm the same way it registers the pencil tip.
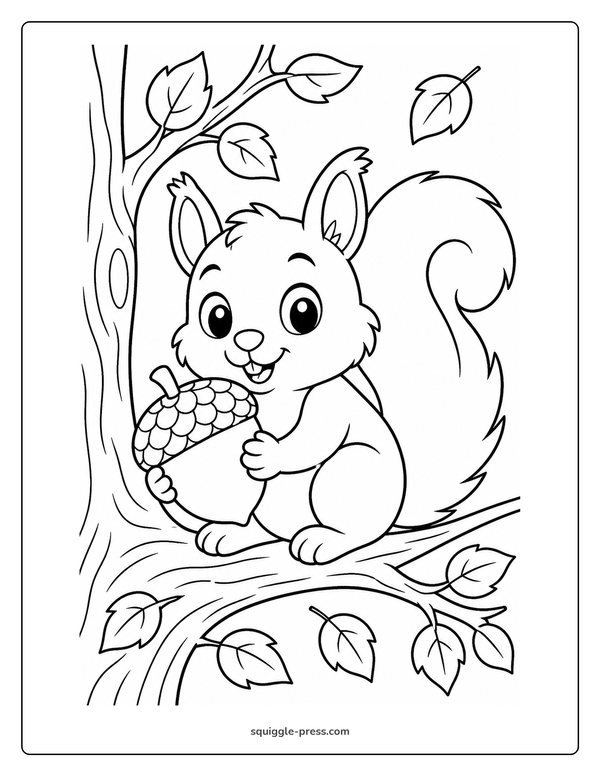 Squirrel with an Acorn
 Grandma Baking a Pie with a Child
 Red Barn with Pumpkins and Corn Stalks
 Washing Dishes Together
Step 5: Saving, sharing, and printing finished work
Once a page is colored, it’s worth building a quick habit around what happens next. Export the finished piece as an image and save it to Photos, or share it directly to a family group chat so grandparents can see it too. If you’d rather have a physical copy, most printing apps and even many home printers can print straight from a saved image, so a digital coloring session can still end up on the fridge.
Keeping finished pages organized matters more than it sounds like it would. A simple naming habit, like including the date or the page’s theme, makes it much easier to find a favorite piece again later, especially once your camera roll fills up with dozens of colorful screenshots.
Step 6: Troubleshooting common hiccups
A few small snags come up often enough that it’s worth mentioning them here. If a PDF won’t open in your coloring app of choice, double check that it actually saved to Files rather than just opening in a browser preview – sometimes it needs a second tap on “Save to Files” to fully download. If your Apple Pencil isn’t responding, make sure it’s charged and paired under Bluetooth settings; a surprising number of “broken pencil” moments are just a dead battery. And if lines look blurry after importing, try re-exporting the original PDF at a higher resolution before bringing it into your app, since a low-resolution file will always look soft no matter how good your coloring is.
Step 7: Building a simple coloring routine
Families who stick with coloring pages on iPad for the long haul usually land on some kind of light routine, even if it’s not formal. That might mean a folder of “go-to” pages saved for car rides, a rotating rule where each kid picks the theme on their turn, or a standing Sunday-afternoon slot where everyone colors together at the table. None of this needs to be elaborate – the goal is just to make reaching for the iPad to color as easy and low-friction as reaching for a box of crayons.
What you need
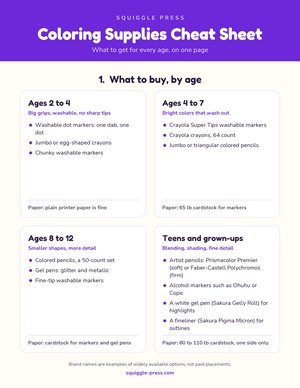
You can technically color on any iPad with a finger, but a few accessories make coloring pages on iPad feel dramatically more like drawing with a real pencil or marker. Here’s what we’d actually put on a shopping list.
Apple iPad (A16)
Apple’s entry-level iPad is the most budget-friendly way into this whole setup, and it’s plenty capable for coloring, sketching, and everyday family use. One important note: this model works with the Apple Pencil (USB-C), not the Apple Pencil Pro, so double-check which pencil you’re pairing it with before you buy. Best for: families who want one iPad the whole house can share.
Apple Pencil (USB-C)
A pencil-style stylus is what makes coloring pages on iPad feel natural instead of smudgy. The Apple Pencil (USB-C) is the correct pairing for the base iPad (A16) mentioned above – it won’t work with every iPad model, so it’s worth matching your pencil to your specific iPad. Best for: precise line work, shading, and kids old enough to handle a slim stylus carefully.
Paper-feel screen protector
These textured screen protectors add a slight grip to the glass, so a stylus or pencil feels more like it’s moving across paper instead of sliding on ice. It’s a small, inexpensive upgrade that a lot of digital colorers swear by once they try it. Best for: anyone who finds glass screens too slippery for detailed coloring.
iPad stand
Propping the iPad up at an angle (rather than coloring flat on a table) takes pressure off wrists and makes longer coloring sessions more comfortable, similar to how an easel helps with paper drawing. Best for: longer sessions, shared family coloring time, or propping the iPad up during travel.
Kids’ stylus
A chunkier, kid-sized stylus is easier for little hands to grip than a slim adult pencil, and many are designed to survive drops without snapping. Best for: younger kids who want to join in without using an expensive pencil.

Printing vs. coloring pages on iPad
Honestly, there’s no wrong answer here – both printed pages and coloring pages on iPad have real advantages, and most families end up using both depending on the day. A quick comparison:
| Printed pages | Coloring on iPad |
|---|---|
| Screen-free, great before bed | Unlimited “paper,” no printer needed |
| Easy to display or frame when finished | Undo button for mistakes |
| No charging required | Can zoom in for tiny details |
| Great for travel without a device | Instant access to a huge page library |
If your family is trying to build in more screen-free time, printed pages are the easy win – and real paper and crayons are still the simplest option for very young kids who aren’t ready for a touchscreen yet. The American Academy of Pediatrics suggests balancing screen time with hands-on, offline activities for younger children, which is a nice reminder that it doesn’t have to be all one or the other.
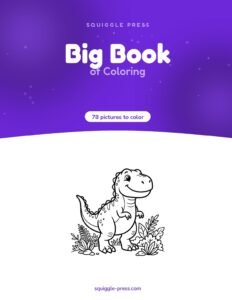
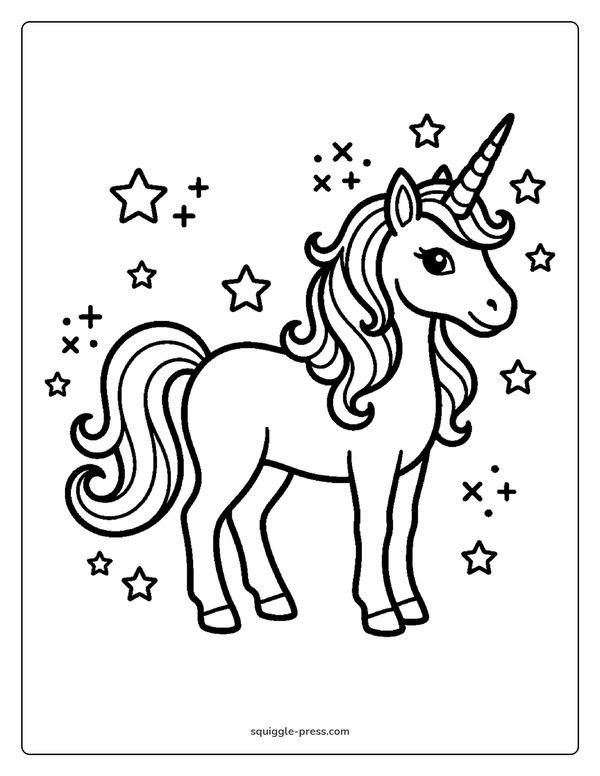
For screen-free evenings, a printed, coil-bound book is hard to beat – try The Big Book of Coloring with 78 pictures, or something themed like the Dinosaur Coloring Book or Unicorn Coloring Book. All of ours print on one side only, so markers never bleed through to the next page – something we talk more about in our piece on single-sided coloring books.

Making the most of coloring pages on iPad
A few small habits make a real difference once you’re set up. First, keep a dedicated folder in Files just for coloring pages so you’re not hunting through downloads every time. Second, export finished pieces to Photos right away – it’s easy to lose track of a great drawing buried in an app’s gallery. Third, if you’re coloring with a child, let them pick the page and the colors; the whole point is that it feels playful, not like a tech lesson.
If your family colors on both paper and screen, browsing our full shop is a good way to find printed books and instant-download PDFs for whichever mood strikes. For older kids building a broader art habit beyond the iPad, our guide to art supplies for tweens is worth a look too.
Not every household is an iPad household, and that’s fine – kid-friendly tablets like the Fire HD Kids and Fire HD Kids Pro come with a kid-proof case and a trial of a kids’ content subscription, which can be an easier starting point for younger children who aren’t ready for a full-size iPad. Whatever device you land on, the core idea of coloring pages on iPad stays the same: import a PDF, pick a coloring tool, and let the page come to life.
One more thing worth knowing: open-ended creative activities – digital or on paper – are good practice for fine motor and attention skills, so there’s no need to feel guilty about letting a tablet be part of that mix.
FAQ-style wrap-up
Coloring pages on iPad really comes down to three ingredients: a PDF you like, an app that can open it, and a tool that feels good in your hand. Start simple with the built-in markup tool if you’re coloring with a young kid, or dive into Procreate’s layers if you want more control. Either way, our free library is a good place to grab your first page and just try it.
However your family colors tonight – on glass or on paper – we hope it’s a few minutes of calm, creative fun. Thanks for coloring with us.
coloring pages on ipad — FAQ
Can I color our free printable PDFs directly on an iPad without any extra apps?
Yes – most iPads have a built-in markup tool (the same one used for annotating photos) that lets you open a saved PDF and color on it with no extra downloads needed.
Does the base iPad (A16) work with any Apple Pencil?
It works with the Apple Pencil (USB-C), not the Apple Pencil Pro, so it’s worth checking which pencil matches your specific iPad model before buying one.
Is it better to print coloring pages or color them on a screen?
Both work well. Printed pages are great for screen-free time and don’t need charging, while coloring on an iPad offers unlimited pages, an undo button, and the ability to zoom in on small details.
Do I need Procreate to color pages on iPad, or will a simpler app work?
Procreate’s layer tools are handy but not required. Apps like GoodNotes, Notability, or even a basic markup tool can open a PDF and let you color with a pen or highlighter just fine.
Every Squiggle Press book: 40 printable PDFs for $9.99
Kids coloring books, adult coloring books, drawing tutorials & sticker packs. Over $150 if bought separately. Print unlimited copies forever.
Get the bundle →