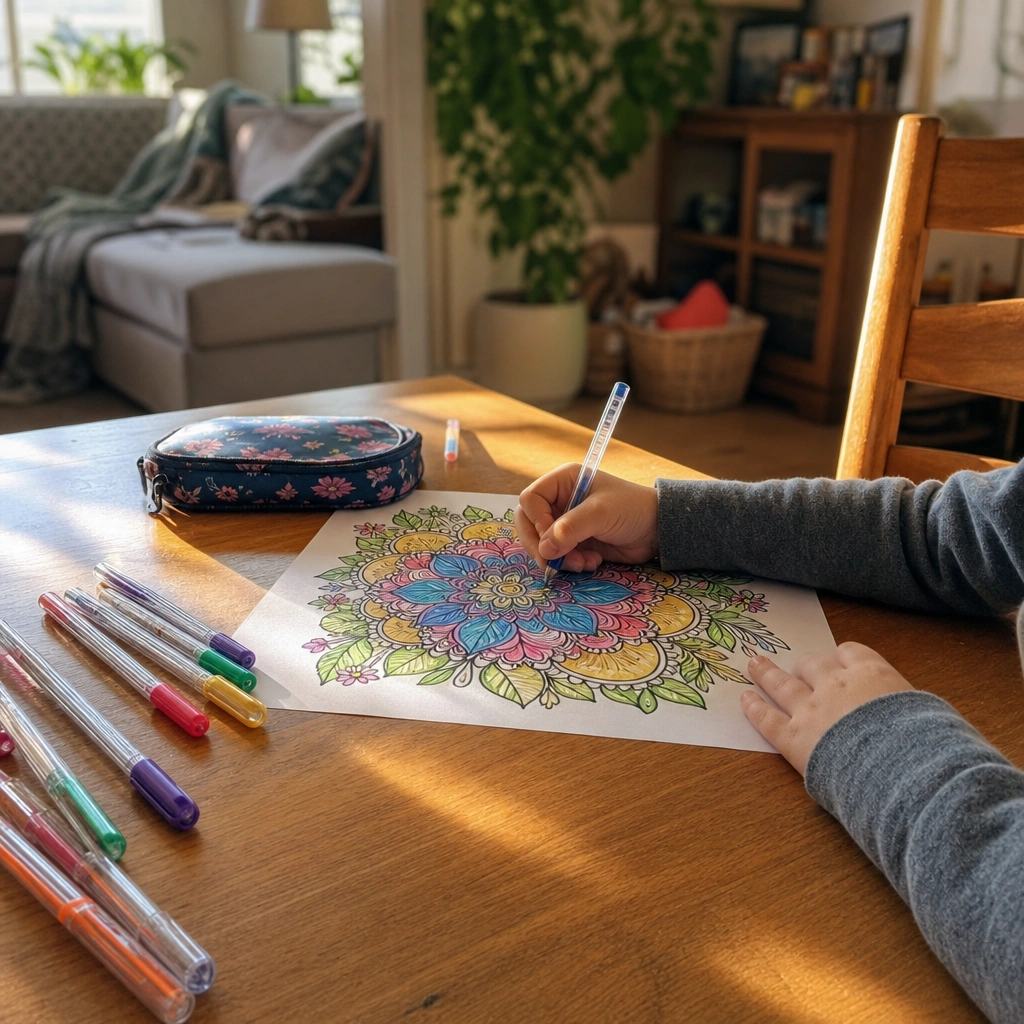
There’s something almost magical about the way a gel pen glides across paper — smooth, shiny, and just a little bit glittery. If you’ve ever wondered how some coloring pages end up looking so rich and dimensional, the answer usually comes down to gel pen coloring techniques. Whether you’re coloring alongside your kids on a rainy afternoon or unwinding with an adult coloring book after bedtime, learning a handful of simple gel pen coloring techniques can completely transform your pages from “nice” to “wow.” This guide walks through everything from layering to blending to paper choice, so grab your favorite set and let’s get started.
The short answer
The best gel pen coloring techniques are: layer light-to-dark colors slowly, let each layer dry before adding the next, use white or metallic gel pens for highlights and outlines, work on thicker paper to prevent bleed-through, and combine gel pens with colored pencils or markers for depth. Start with small sections, keep your pen caps close (gel ink dries out fast), and always test a new pen on scrap paper first. Master these basics and even a simple printable page will look genuinely stunning.
Why gel pens are different from markers and colored pencils
Gel pens use a water-based, pigmented gel ink that sits on top of the paper rather than soaking in like markers do. That’s what gives them their signature glossy, slightly raised finish. Unlike colored pencils, gel pens lay down solid, vivid color in one stroke without needing pressure or repeated passes. This makes them fantastic for small, detailed areas — think mandala centers, flower petals, or tiny stars on a space scene.
Because gel ink dries slowly and stays wet longer than marker ink, it behaves a bit differently. Gel pen coloring techniques often involve more patience than marker techniques, but the payoff is a shimmery, dimensional look that markers and pencils simply can’t replicate on their own.
It also helps to understand the three main gel pen “families” you’ll encounter: standard (opaque, solid color), metallic (a soft shimmer finish that catches the light), and glitter (visible sparkle flecks suspended in the ink). Each behaves a little differently, and knowing which one you’re holding changes how you should apply your gel pen coloring techniques. Standard gel pens are the most forgiving for beginners, metallics need a slightly firmer, steadier hand to avoid streaking, and glitter pens often need two thin coats rather than one thick one to look their best.
Gather the right supplies first
Good gel pen coloring techniques start with good tools. You don’t need an enormous collection to get beautiful results — a well-chosen starter set goes a long way. Here’s what we recommend keeping on hand:
- A core set of 12–24 gel pens in a mix of standard, metallic, and glitter finishes
- At least one white gel pen for highlights (this is the secret weapon of gel pen coloring techniques)
- Thicker paper — 65lb cardstock or heavier printable pages hold up best
- A scrap sheet for testing colors before committing
- Colored pencils to blend with or shade underneath gel pen layers
- A blending stump or cotton swab for the dot-and-blend method described below
- A small jar or pencil tray to keep pens organized by color family
If you’re printing your own pages at home, our guide on how to print coloring pages covers paper weight and printer settings that work especially well with gel pens, since thin paper tends to buckle or bleed through.

9 gel pen coloring techniques for stunning pages
These are the techniques we come back to again and again, whether we’re coloring with a five-year-old or finishing a mandala page ourselves. Try one or two at a time — you don’t need to master all nine at once.
1. Layer light to dark
One of the most important gel pen coloring techniques is building color in layers instead of pressing hard for instant saturation. Start with a lighter shade, let it dry for a few seconds, then add a slightly darker tone over just part of the shape. This creates natural-looking shading without any blending tools. Think of it the way a painter builds up an underpainting before adding shadows — the light layer gives you a soft base, and the darker layer only needs to cover a portion of it to suggest depth.
2. Let each layer dry before the next
Gel ink stays wet longer than you’d think. If you layer too soon, colors smear together and turn muddy. A quick 10–15 second pause between layers keeps your gel pen coloring techniques crisp and clean, especially in small detailed areas. If you’re working on a bigger section, try coloring three or four separate shapes in rotation — by the time you circle back to the first one, it’s usually dry enough for a second layer.
3. Use white gel pen for highlights
Adding tiny white dots or curved lines on top of a finished color instantly makes it pop with shine and dimension — this is the trick behind glossy eyes, sparkly water, and shiny leaves. It’s one of the simplest gel pen coloring techniques and also one of the most impressive-looking. A single curved highlight near the top edge of a shape mimics the way light naturally hits a rounded surface, which is why this trick works so well on gems, water droplets, and glossy fruit.
4. Try the dot-and-blend method
Instead of solid coverage, cover a section in small dots of two or three colors, then gently rub with a fingertip or blending stump while still slightly wet. This creates a soft, painterly texture that’s especially pretty on flower petals and mandalas. Work quickly here, since gel ink starts to set within a minute or two, and the blending effect only works while the ink is still slightly tacky.
5. Outline first, color second
Trace the outline of a shape in a matching or darker gel pen before filling it in. This crisp border technique keeps colors contained and gives pages a polished, illustrated look — a favorite among our free coloring pages fans. Letting the outline dry fully before filling in the middle also prevents the fill color from bleeding into your crisp border.
6. Combine gel pens with colored pencil
Lay down a base layer of colored pencil, then add gel pen details, outlines, or highlights on top. The pencil gives soft shading while the gel pen adds crisp shine — one of the best gel pen coloring techniques for making pages look layered and professional. This combination is especially forgiving for beginners, since the pencil layer hides small unevenness before the gel pen goes on top.
7. Use metallics sparingly
Metallic and glitter gel pens are eye-catching, but too much can overwhelm a page. Save them for accents — a crown, jewelry, stars, or a border — rather than filling large areas, since they can look streaky over big shapes. If you do want a metallic background, try two thin, even coats instead of one heavy one; it dramatically reduces streaking.
8. Test color combinations on scrap paper
Before committing gel pen to your final page, swatch two or three colors together on scrap paper. This tiny step saves a lot of “oops” moments and helps you plan your gel pen coloring techniques before you start. It’s also a great way to double-check that a metallic or glitter pen still has enough ink left, since gel pens tend to fade gradually rather than stopping all at once.
9. Work section by section, not all at once
Complete one shape fully before moving to the next, rather than jumping around the page. This keeps drying times manageable and prevents your hand from smudging wet ink as you go. It also makes it easier to plan your color palette, since you can decide on a shape-by-shape basis whether you want a light-to-dark layer, a highlight, or a dot-and-blend texture.
A quick comparison: gel pens vs. other coloring tools
Choosing the right tool for the job makes any coloring session smoother. Here’s how gel pens stack up against other popular options:
| Tool | Best for | Dries | Bleed-through risk |
|---|---|---|---|
| Gel pens | Fine details, shine, highlights | Slow | Low (with sturdy paper) |
| Alcohol markers | Bold, blended coverage | Fast | High |
| Water-based markers | Kids, easy cleanup | Fast | Medium |
| Colored pencils | Soft shading, control | N/A | None |
If you’re deciding between markers for a bigger project, our comparison of alcohol markers vs. water-based markers is a helpful next read, especially if you like combining marker backgrounds with gel pen details.
Choosing the best pages to practice gel pen coloring techniques on
Not every coloring page is equally suited to gel pens — pages with lots of small, distinct sections tend to show off the shine and detail best. A few ideas to try:
- Mandalas with intricate repeating patterns, like our Mandala Magic Adult Coloring Book (instant PDF download, $1.99)
- Botanical illustrations with layered petals and leaves, like our Vintage Botanical Plates Adult Coloring Book (instant PDF download, $1.99)
- Whimsical kid-friendly scenes with sparkle potential, like our Magical Unicorns Coloring Book (instant PDF download, $1.99)
Cottagecore-style florals and nature scenes are also wonderful for practicing layering and dot-and-blend techniques — check out our cottagecore coloring pages for inspiration if that’s your style. Look for designs with clearly separated shapes rather than large open backgrounds, since gel pens are at their best in smaller sections where you can control drying time and layering.
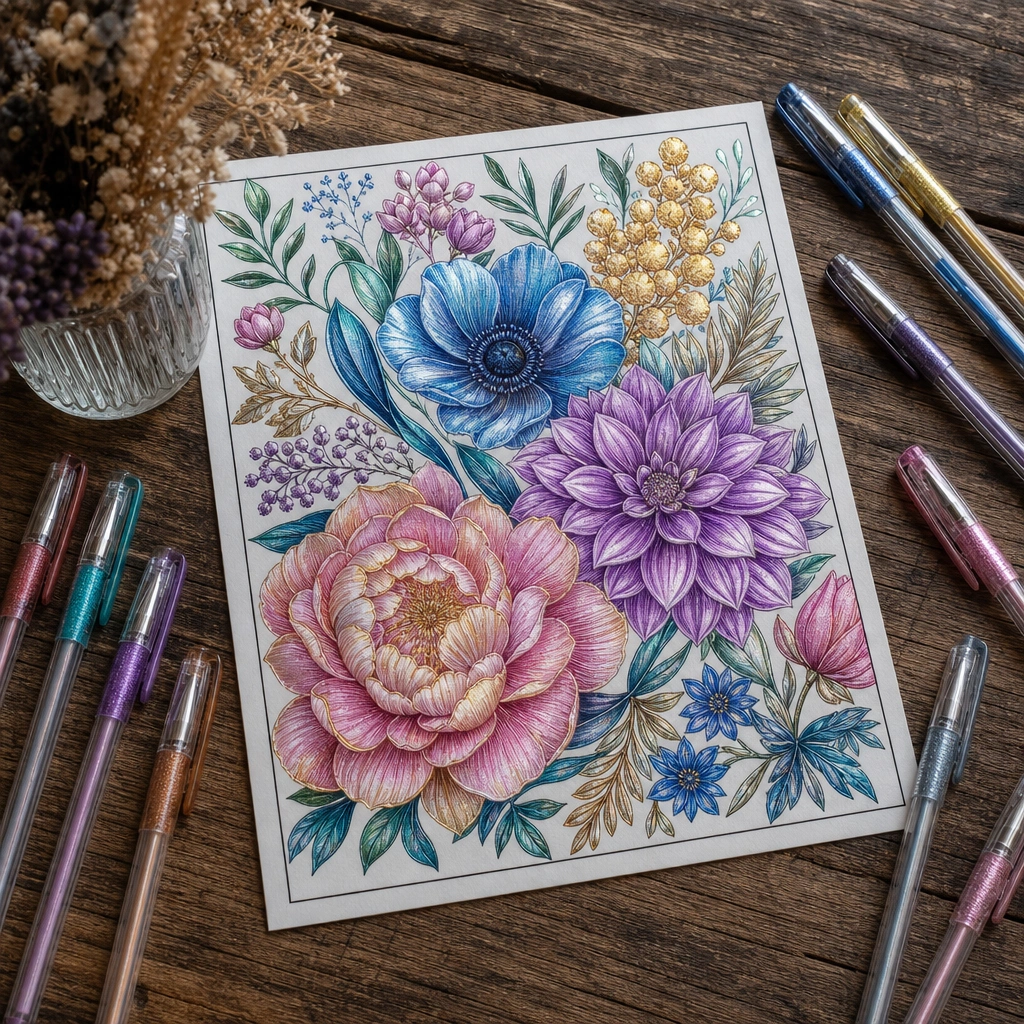
Gel pen coloring techniques for kids vs. adults
Kids and grown-ups tend to use gel pens a little differently, and that’s perfectly fine. Younger colorists often love the sparkly, bold effect of metallics and don’t mind less-than-perfect blending — the joy is in the shine itself. Older kids and adults tend to enjoy the slower, more deliberate layering and highlighting techniques described above.
If you’re coloring with a younger child, keep sessions short and let them experiment freely rather than correcting technique. According to the American Academy of Pediatrics, open-ended creative play like drawing and coloring supports fine motor development and self-expression at every age (healthychildren.org). The goal is enjoyment first, polish second — especially for the littlest artists.
For toddlers who are just starting out, simpler pages with big shapes work best; browse our picks for coloring pages by age 3 to find a good match before introducing gel pens at all, since very young children often do better with chunky crayons first.
For adults looking for a more meditative session, try setting aside 20–30 minutes with no distractions and working through just one small mandala section using two or three of the gel pen coloring techniques above. The slower pace itself is part of the appeal — many colorists find the drying-time pauses genuinely relaxing rather than frustrating once they stop rushing them.
Common gel pen mistakes to avoid
Even with great gel pen coloring techniques, a few common missteps can spoil the effect. Watch out for these:
- Pressing too hard — gel pens don’t need pressure; light strokes glide better and last longer
- Skipping the scrap-paper test — colors can look different on glossy vs. matte paper
- Using thin printer paper — it buckles and lets ink bleed through to the next page
- Leaving caps off too long — gel ink dries out fast, so recap pens right after use
- Overusing glitter pens — a little sparkle goes a long way
- Rushing the layers — impatience is the number one cause of muddy, streaky color
Storing pens horizontally rather than upright also helps keep the ink flowing evenly, since gel ink can settle over time.
Caring for your gel pens
Gel pens are a small investment, so it’s worth keeping them in good shape. A few care habits make a big difference:
- Always replace the cap immediately after use
- Store pens flat, not standing upright, to prevent ink pooling
- Give a pen a gentle scribble on scrap paper before each session to get the ink flowing
- Keep pens out of direct heat or sunlight, which can dry out the gel formula
- Organize by color family in a jar or tray so you’re not hunting mid-project
These small habits mean your gel pen coloring techniques stay reliable session after session, instead of fighting with a dried-out pen halfway through a page.
Simple gel pen coloring techniques project to try this week
If you’d like a complete, low-pressure way to practice, try this simple project: print a single-flower coloring page, and commit to using exactly three gel pen coloring techniques on it — outline first, light-to-dark layering on the petals, and a white highlight dot in the center of each one. Give yourself no time limit, and let each layer dry fully before moving to the next petal. This kind of focused, repeatable practice is often the fastest way to build real confidence with new techniques, because you’re rehearsing the same small motions on multiple petals instead of trying something new every few minutes.
Bringing it all together on a page
The real fun of gel pen coloring techniques is mixing and matching them on a single page. Try outlining a shape, filling it with a light-to-dark layered base, adding a dot-and-blend texture in one corner, and finishing with white highlight dots. No two colorists will use the exact same combination, which is exactly what makes gel pen art feel personal.
If you want a low-pressure way to practice, our free coloring pages are a great place to test new techniques before committing to a full printable book. And if you’re heading out the door soon, gel pens plus a few simple line-art pages also make a surprisingly mess-free option from our road trip activities for kids list.
For sticker-loving kids who want to add gel pen shine to something beyond a coloring page, our Kawaii Food Sticker Pack (instant PDF download, $1.99) prints on cardstock and takes gel pen highlights beautifully.
FAQ: gel pen coloring techniques
| Question | Quick answer |
|---|---|
| Do gel pens bleed through paper? | They can on thin paper — use cardstock or heavier printables to prevent it. |
| Can gel pens blend like markers? | Not exactly, but the dot-and-blend method creates a similar soft, blended look. |
| How do I keep gel pens from drying out? | Cap immediately, store flat, and scribble on scrap paper before use. |
| Are gel pens safe for young kids? | Generally yes for ages 5+, with supervision; younger kids may prefer chunkier tools first. |
| What paper works best? | 65lb cardstock or heavier printable pages hold gel ink beautifully without bleed-through. |
| How many gel pens do I really need to start? | A set of 12–24 in mixed finishes covers most projects; you can always add more later. |
Final thoughts
You don’t need fancy equipment or years of practice to get gorgeous results — just a handful of reliable gel pen coloring techniques, a little patience for drying time, and pages worth coloring. Start small, layer slowly, and don’t be afraid to experiment with white highlights and metallic accents. Before long, you’ll have a stack of pages that genuinely look like small works of art, whether they’re hanging on the fridge or framed on a wall. Browse our full shop for more printable pages ready to test your new skills on.
Ready to print some fun?
Browse our printable coloring books, drawing tutorials & sticker packs — instant PDF downloads from $1.99, plus totally free tutorials to try first.

Every Squiggle Press book — 40 printable PDFs for $9.99
Kids coloring books, adult coloring books, drawing tutorials & sticker packs. $160 value. Print unlimited copies forever.
Get the bundle →